For example I print an item, then scan and the resulting image was drastically different than original. Now you might imagine that the printer is not able to reproduce the correct colors with 100% accuracy.Yes you are right, but this was more than that.
Calibration
I followed the instructions from https://argyllcms.com/doc/Scenarios.html They were rather detailed and there are links to program command line options.Profiling Scanner
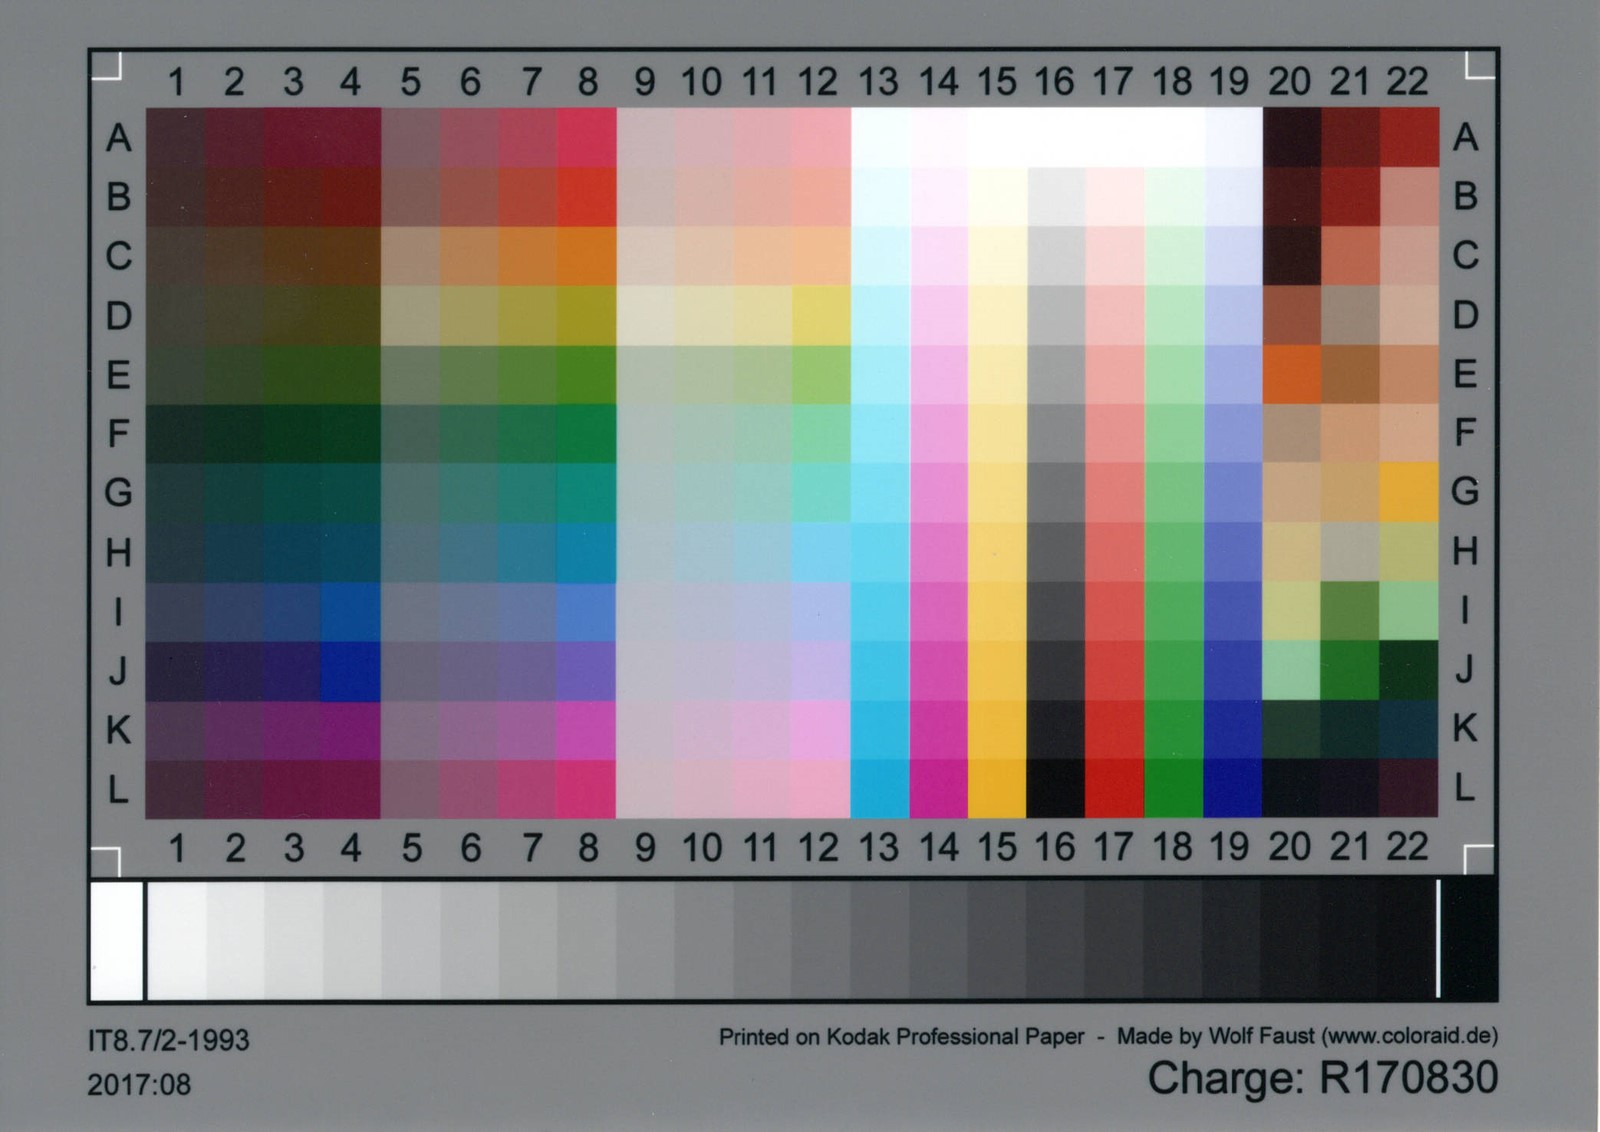
First we need to calibrate the scanner. In my case the scanner came with a file XP540_R.icc which was calibration profile for the scanner. The info said XP-540/640 series scanner - reflective.To be honest, I believe this was rather accurate but I was not sure of it so I have ordered an IT 8.7/2 Reflective Scanner Target online from http://www.targets.coloraid.de/ . The test target comes with reference data (which is necessary for profiling). It was neatly packed and quite nice. Also, it was relatively cheap and seemed worthwhile to try out. If you want to go super cheap, you can get away with using the calibration profile provided with the driver.
I scanned the target with a balanced set of settings. For me, they were gamma 2.5 and contrast -10

So I saved the output of scanner as scanner.tiff. I had Argyll CMS on upper directory. I copied it8.cht from the argyll's ref folder.
..\Argyll_V2.1.1_win64_exe\Argyll_V2.1.1\bin\scanin -dipn -v scanner.tif it8.cht R170830.txt
..\Argyll_V2.1.1_win64_exe\Argyll_V2.1.1\bin\colprof -v -D"Epson XP-540" -qm -ax -ua scanner
This created scanner.icm and diag.tiff for seeing if the charg was recognized.
Profiling Printer
For profiling the printer we need to generate a printout with patches like the profiling target. It is quite straightforward. You first need to create the test chart...\Argyll_V2.1.1_win64_exe\Argyll_V2.1.1\bin\targen -v -d2 -f1014 EpsonXP540
..\Argyll_V2.1.1_win64_exe\Argyll_V2.1.1\bin\printtarg -v -R 0 -s -T300 -iSS -pA4 EpsonXP540
This creates a target image like below:


Once I scanned it using same settings (gamma 2.5, contrast -10), I got the result below. It looks different than original but that is the point.

..\Argyll_V2.1.1_win64_exe\Argyll_V2.1.1\bin\scanin -dipn -v -c EpsonXP540_scanned.tif EpsonXP540.cht scanner.icm EpsonXP540
..\Argyll_V2.1.1_win64_exe\Argyll_V2.1.1\bin\colprof -v -D"Epson XP-540" -qm -S sRGB.icm -cmt -dpp EpsonXP540
Based on how far you want to go. This may be enough for you. But as it happens the Argyll CMS documentation suggests you to calibrate the printer now.
As far as I understand, the next calibration step. Apparently the calibration process checks the per channel color production, CMYK.
Printer Calibration
Now we need to print a calibration chart. The documentation suggests we print a different type of test patch for our RGB printer. This supposedly tests maximum ink levels etc. I do not know why it does not test black levels for RGB printer. Do you? Leave a message!We create chart, print it, scan it just the same as before. The last command creates the calibration file.
..\Argyll_V2.1.1_win64_exe\Argyll_V2.1.1\bin\targen -v -d2 -s336 -e3 -f0 EpsonXP540_c
..\Argyll_V2.1.1_win64_exe\Argyll_V2.1.1\bin\printtarg -v -R 0 -s -T300 -iSS -pA4 EpsonXP540_c
..\Argyll_V2.1.1_win64_exe\Argyll_V2.1.1\bin\scanin -dipn -v -c EpsonXP540_c_scanned.tif EpsonXP540_c.cht scanner.icm EpsonXP540_c
..\Argyll_V2.1.1_win64_exe\Argyll_V2.1.1\bin\printcal -v -p -i EpsonXP540_c
Now, we should create the same profiling chart using the calibration file. Then scan it in and create profile.
..\Argyll_V2.1.1_win64_exe\Argyll_V2.1.1\bin\printtarg -v -R 0 -s -T300 -iSS -pA4 -KEpsonXP540_c.cal EpsonXP540
..\Argyll_V2.1.1_win64_exe\Argyll_V2.1.1\bin\scanin -dipn -v -c EpsonXP540_scanned_calibrated.tif EpsonXP540.cht scanner.icm EpsonXP540
..\Argyll_V2.1.1_win64_exe\Argyll_V2.1.1\bin\colprof -v -D"Epson XP-540" -qm -S sRGB.icm -cmt -dpp EpsonXP540
There you go...
Results
So, here is what I did to see how this panned out. I first had an original.

I applied the self created ICM with the windows color management utility. By selecting the printer and telling it to manually use the one I uploaded as default ICM profile.

..\Argyll_V2.1.1_win64_exe\Argyll_V2.1.1\bin\cctiff VX2835wm.ICM EpsonXP540.icm murviini.tiff murviini2.tiff
Then I printed it without color management and scan using the usual settings.

One interesting fact is that I enabled print preview in the Epson settings and in print preview it shows the data sent to printer. This appears to be image after the color management is applied. Below are images shown by the print preview!

The one on middle is printed with custom ICM using color management.
The one on the right is printed with printer's default ICM profile for plain paper.
As you can see, printer is doing something strange when ICM is selected in settings. It prints differently even though the preview shows exactly same result. I am not sure what to make of it. If you know why this is happening, please comment!